Received my Apple Magic Keyboard 2 in the mail today, and promptly decapitated it to relocate the keys to match the Dvorak layout.
The caps on these newly designed keys are different than previous generations and MacBooks, so before you break out your splunger and start popping and caps-locking, you’ll want to read the following tips:
- These keys are very flat and have very little travel. You’ll need something razor thin to get under them; I (carefully) used the tip of an Exacto blade.
- Start at the very bottom edge of each key cap, slide your sharp-tool slightly underneath, and gently lift up enough to fit your thumbnail in there. Softly pry upwards and you’ll hear the bottom jaws click off of their hinges.
- Next, you’ll need to slide the top of the key cap off towards the bottom of the key. The top is not hinged; it hugs the underside of the scissor (see: not the new MacBook butterfly style, sigh) assembly with two tiny sideways-L shaped shelves. (To be clear: do not lift straight up, or you will most likely damage the key assembly. Instead, pull downwards, sliding them towards the bottom row of keys.)
- Carefully repeat for each key. For me, the bottom row was more challenging than the others, but there’s no discernible difference as to why that might be.
- Installation is the opposite of removal. Carefully slide the top of each key cap into place, and slowly but firmly press down until you hear and feel a satisfying “click” of the bottom jaws locking back around their hinges.
- You should feel immediately if a key is not seated properly. It will not lay flat and may even rub one of its surrounding aluminum walls.
- The folks over at iFixit posted their own teardown, if you need more detailed photos. They claim these keys are the similar to previous generations, but for the purpose of swapping key caps, I think the change to the upper attachment points is significant enough to reiterate as being unique.
- That’s it. If you’ve done this before like I have, the entire process takes less than 30 minutes, and you’ll have an Apple Magic Keyboard 2 in the layout of your choice.
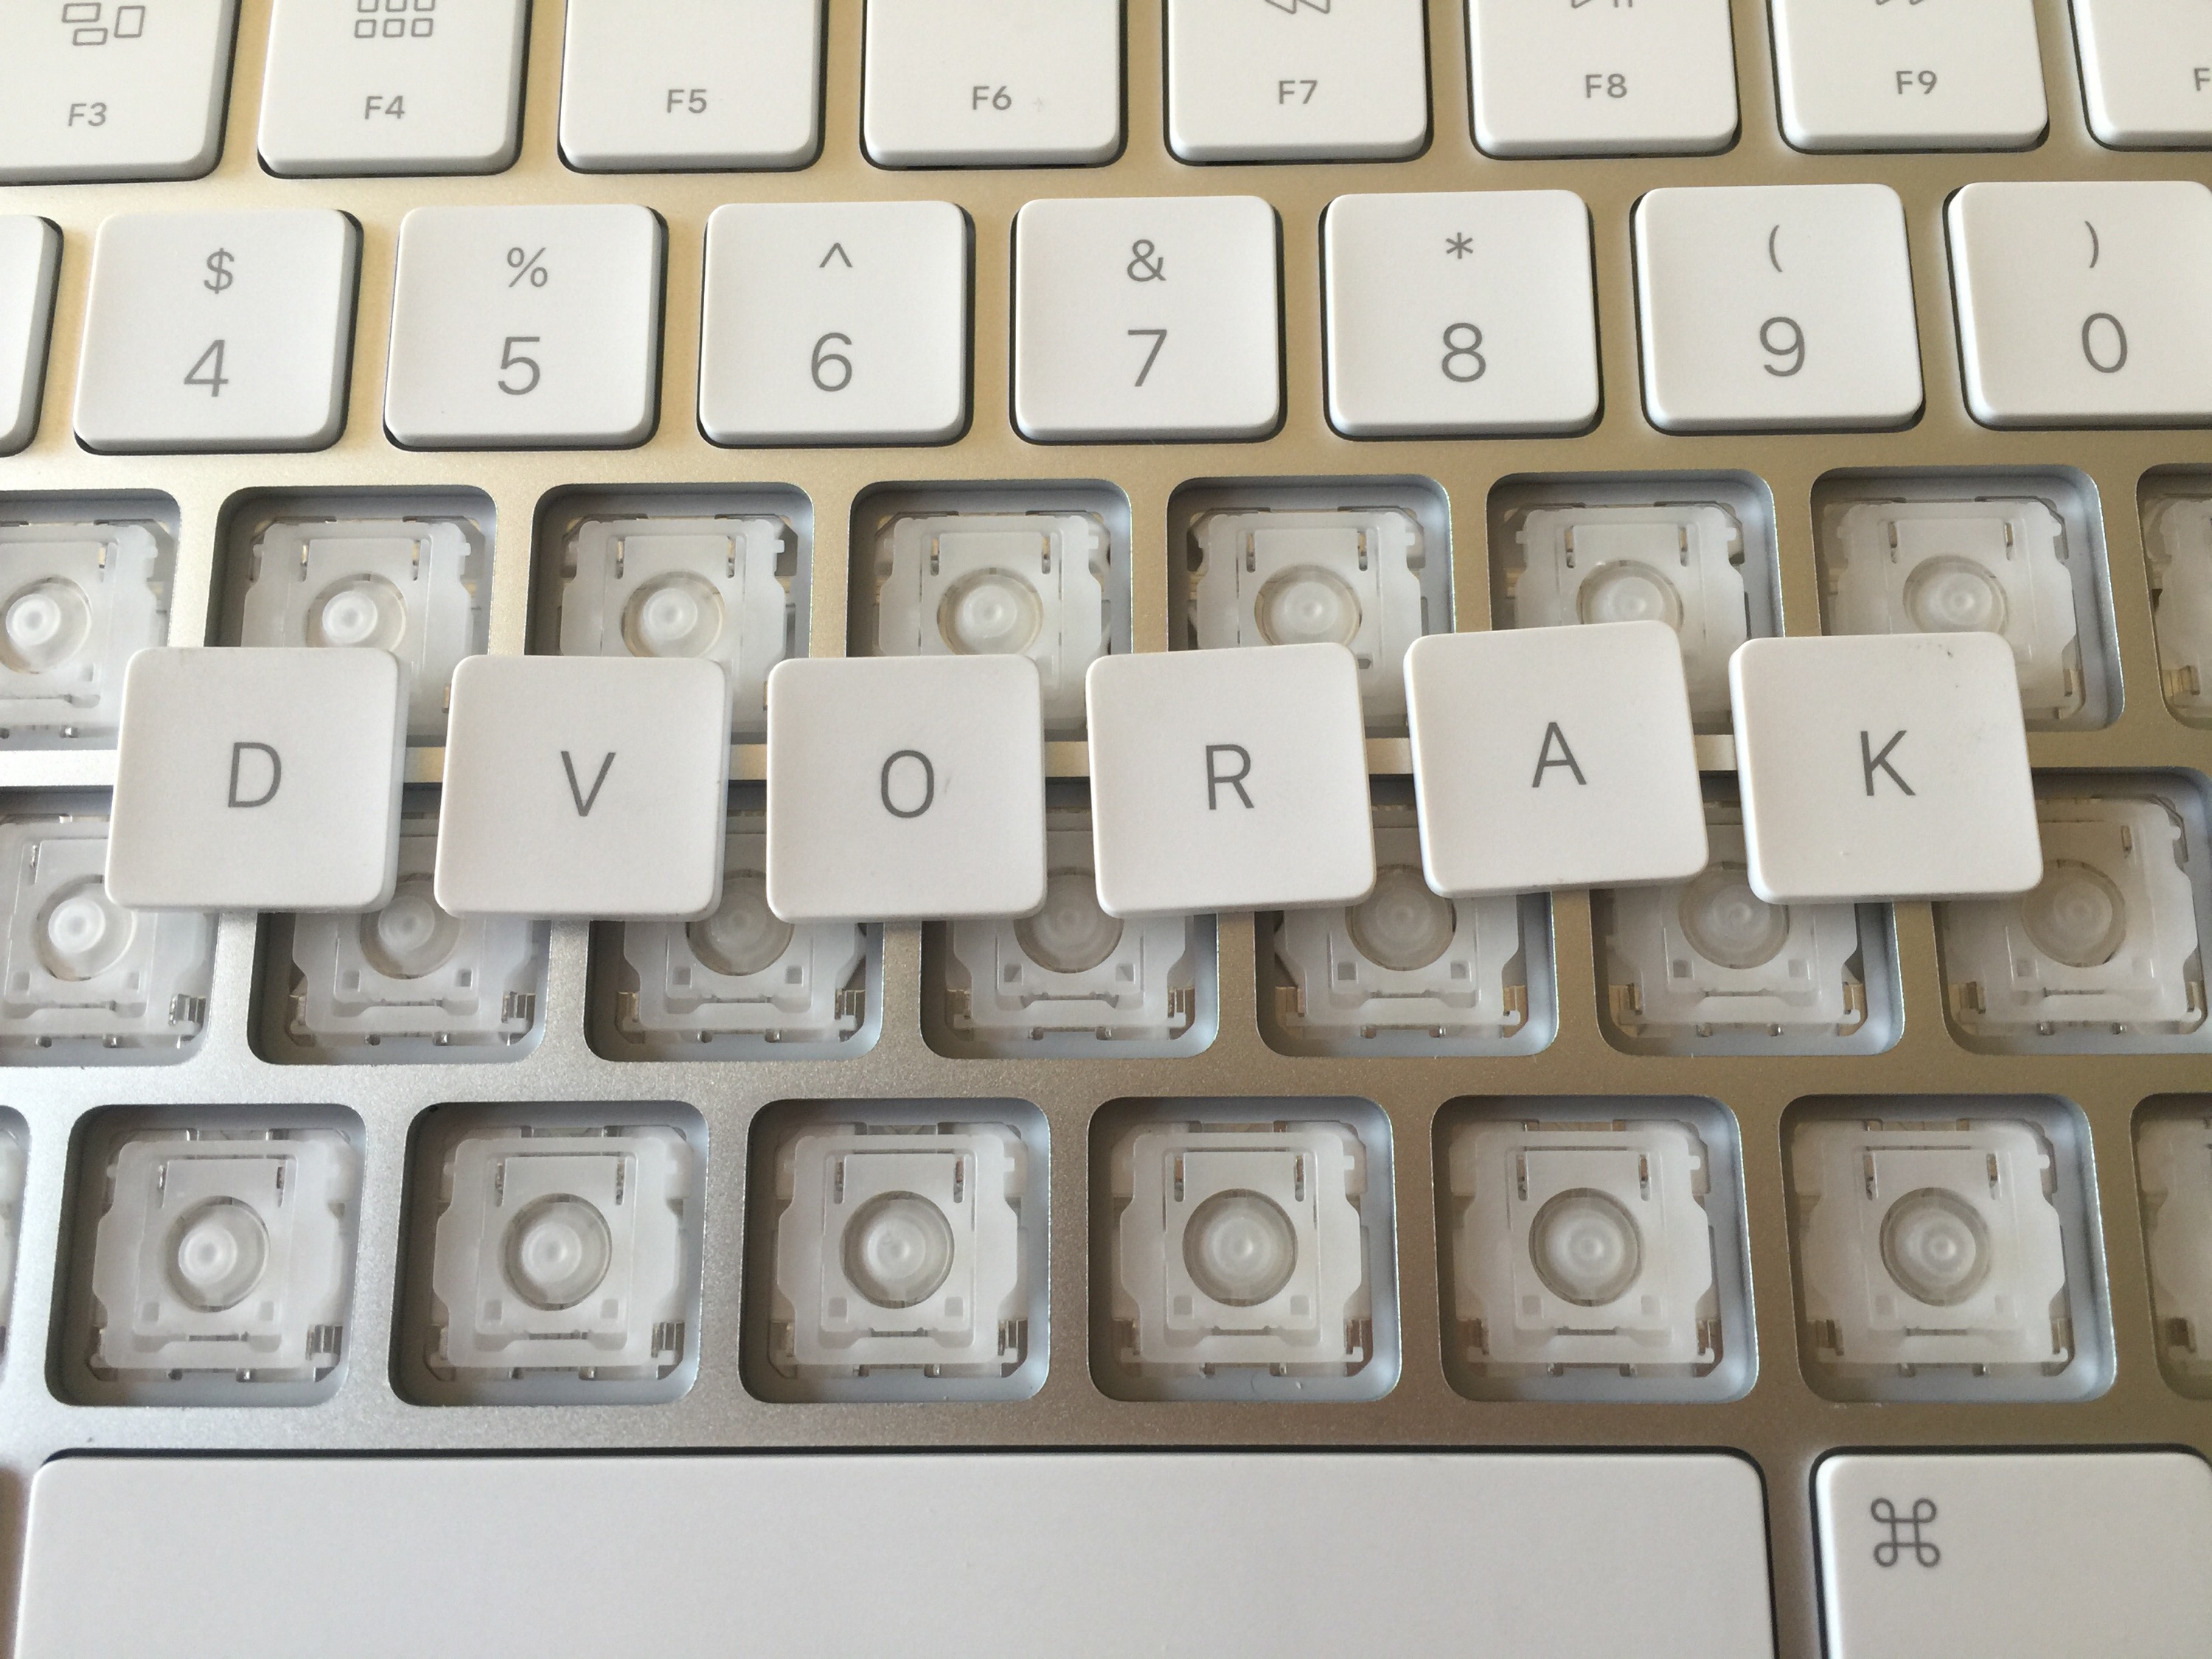
If all goes well, you’ll end up with a keyboard that looks like this!

Comments
7 responses to “Keyboard 2: Dvorak Bugaloo”
Did you do this on your laptop keyboard, too?
On both an 11″ Air and 15″ retina pro. Those keys have much more travel, so no tool is necessary IMO. This keyboard requires some sharp wedge to pitch the bottom upwards enough to get leverage with your thumbnail.
[…] visit JJJ […]
Have you ever considered switching to a mechanical keyboard instead?
I’m using a programmable pok3r keyboard and it just makes life A LOT easier… 😉
You can use any layout you want, switch keycaps and in general have a more satisfying and ergonomically better experience. My wrists stopped hurting since I switched.. And when you spend 10 hours/day typing that’s important.
It’s been years since I’ve had one, and though I’ve considered it, the vanity of Apple’s design iteration continues to win me over.
Typing has yet to cause my wrists or fingers any pain, and I’m hoping that trend continues. The previous generation Magic Mouse did, and I haven’t had any issues since switching to the Magic Trackpad. I’ve heard great things about other Logitech mice, but it’s another case of Apple’s hardware integrating nicely and looking great that keeps me upgrading.
I’ve considered switching the keys on my MacBook, but I don’t like how the F and J keys retain their bumps
This was weird for me at first, too. After a few days, my fingers naturally used those bumps in their new locations in the same way.